Today’s post will be vastly different from my typical blog posts. Today I will show you my latest home improvement project. The vinyl in our bathrooms are completely outdated. After moving into our home 3 years ago, we begun the process of updating. We realized almost all the flooring in the home had to be ripped out immediately, for safety reasons. However, the vinyl, although ugly and outdated could wait a while. We have worked hard and slowly but surely our home is beginning to look less like an 80’s Better Homes and Gardens home.
The vinyl in our two bathrooms were in good shape but it was quite ugly. For three years we have tossed around different ideas for the bathroom floors, however, all the options we came up with were expensive and required hired labor. I began to think, “The vinyl is in fairly good shape, too bad I can’t just give it a facelift. How can I use the same vinyl flooring but update it and make it aesthetic to the eye?”
Here’s what I came up with and I LOVE IT! The entire family LOVES it!
Here is the process….
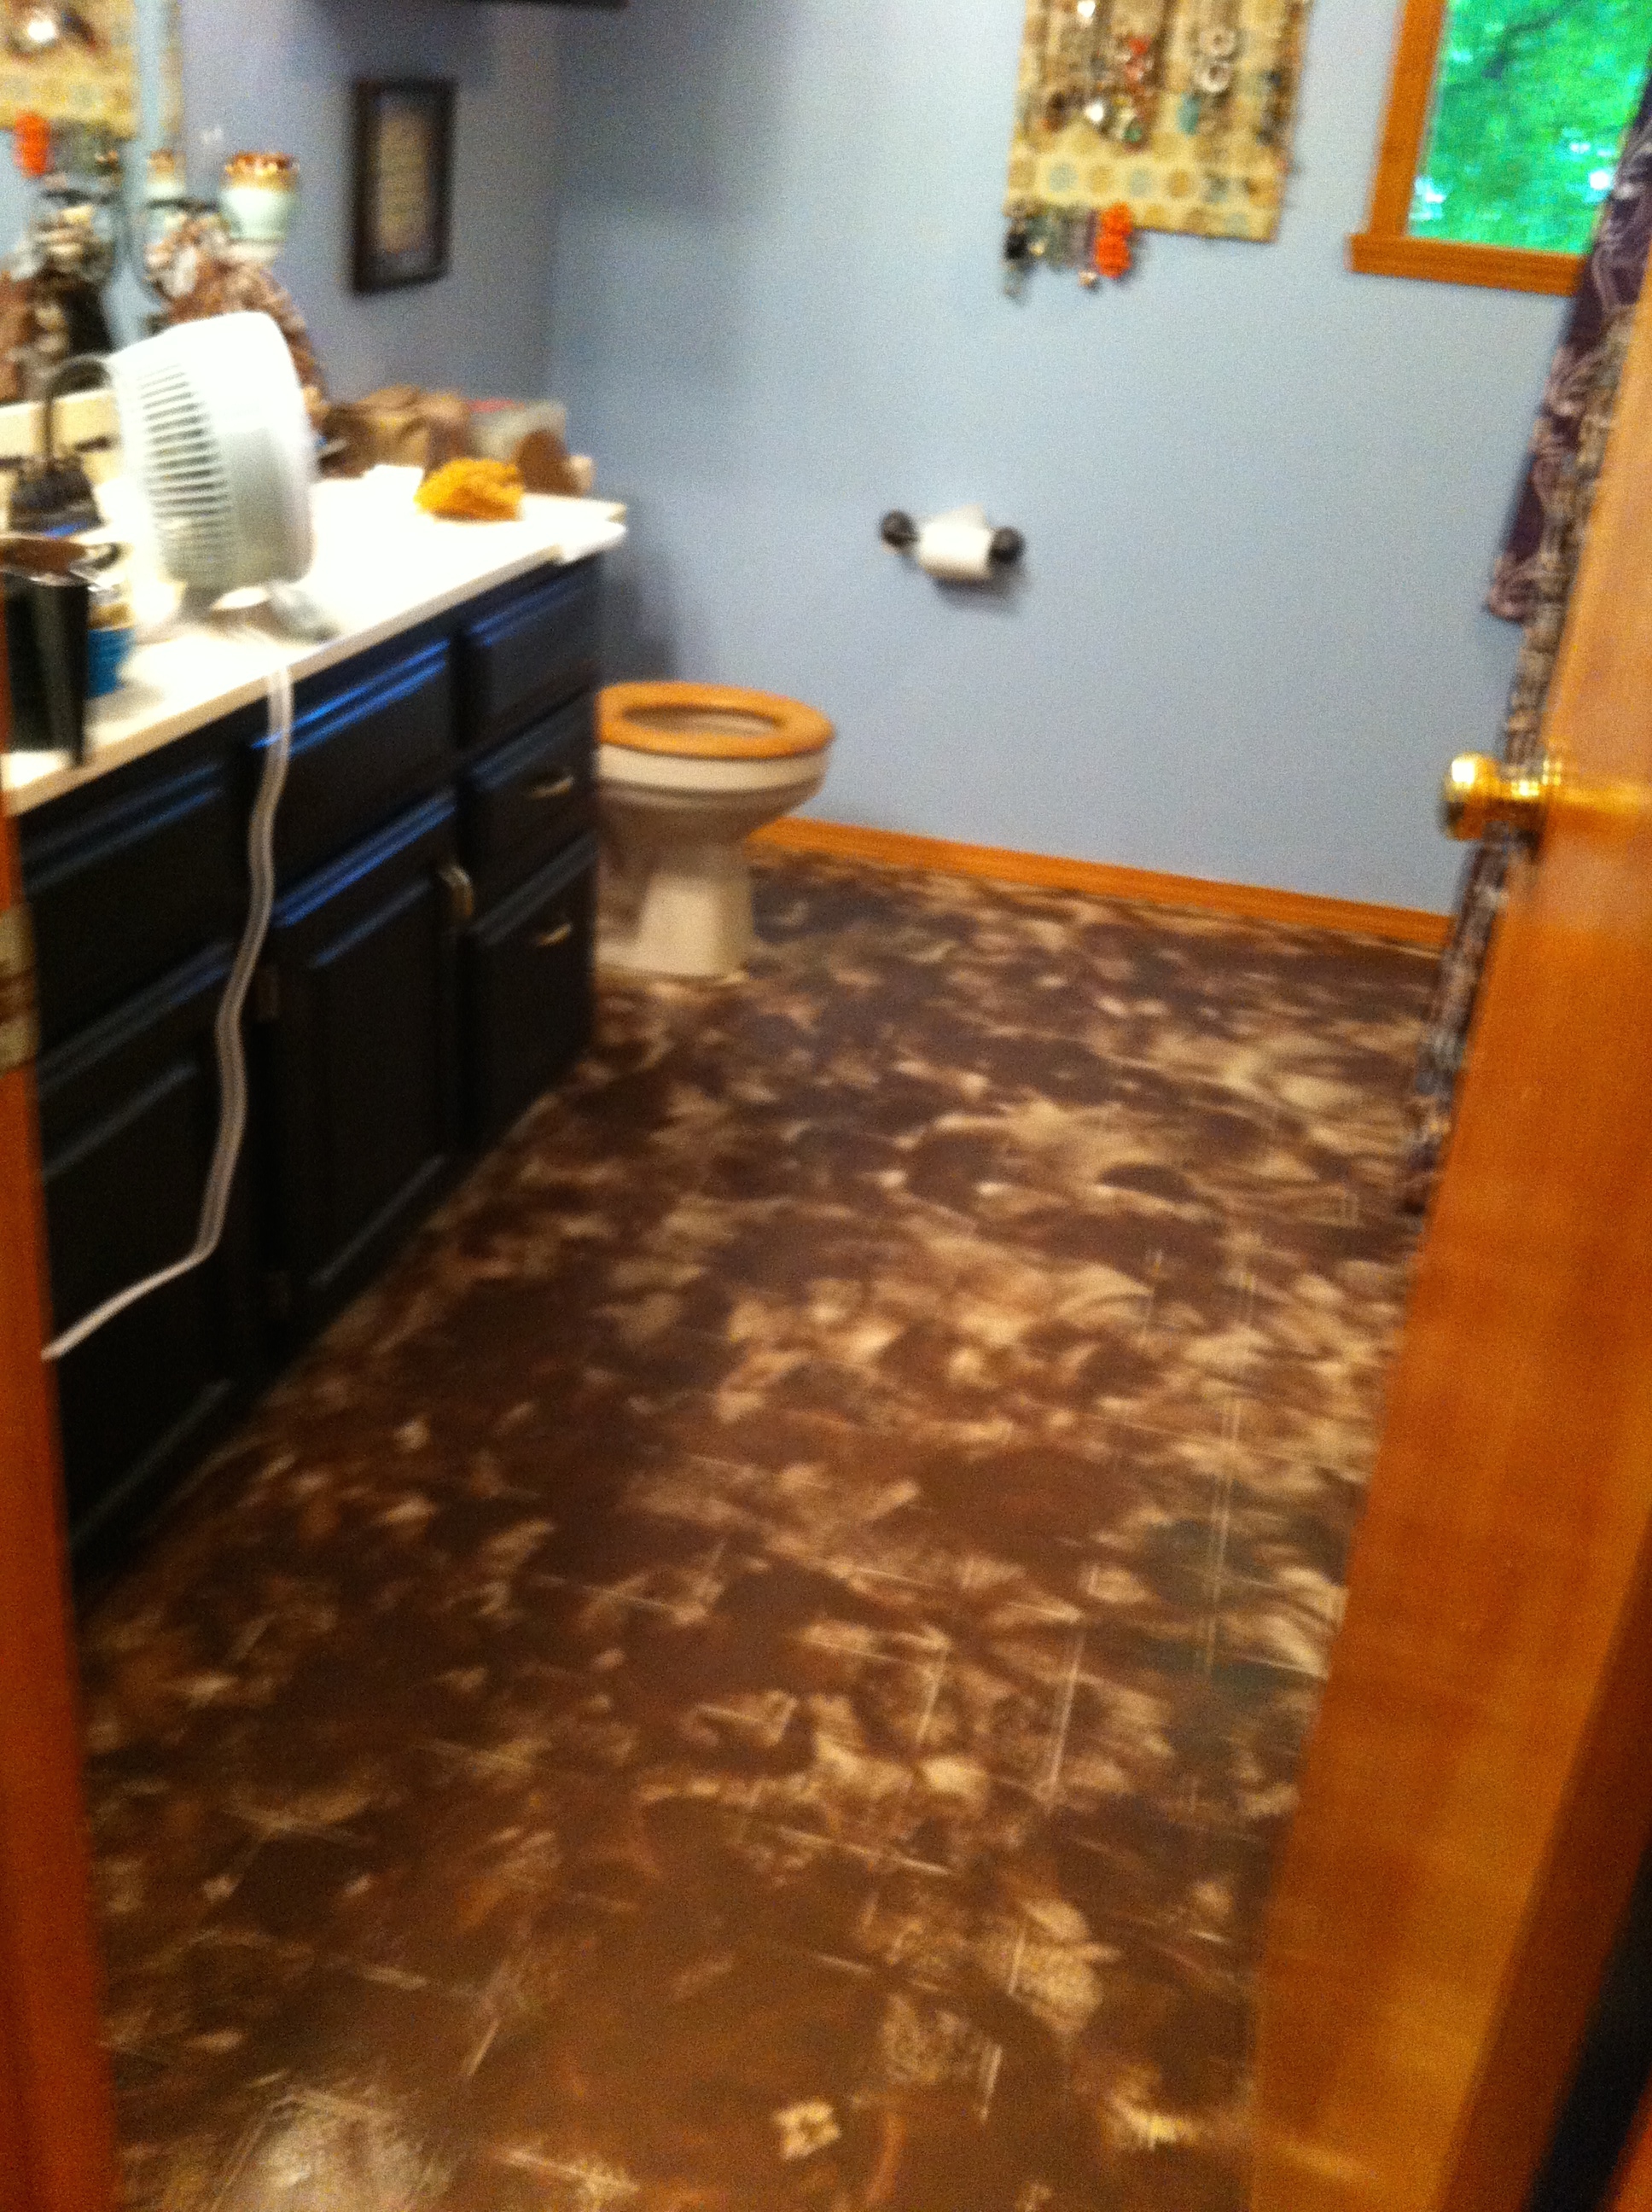
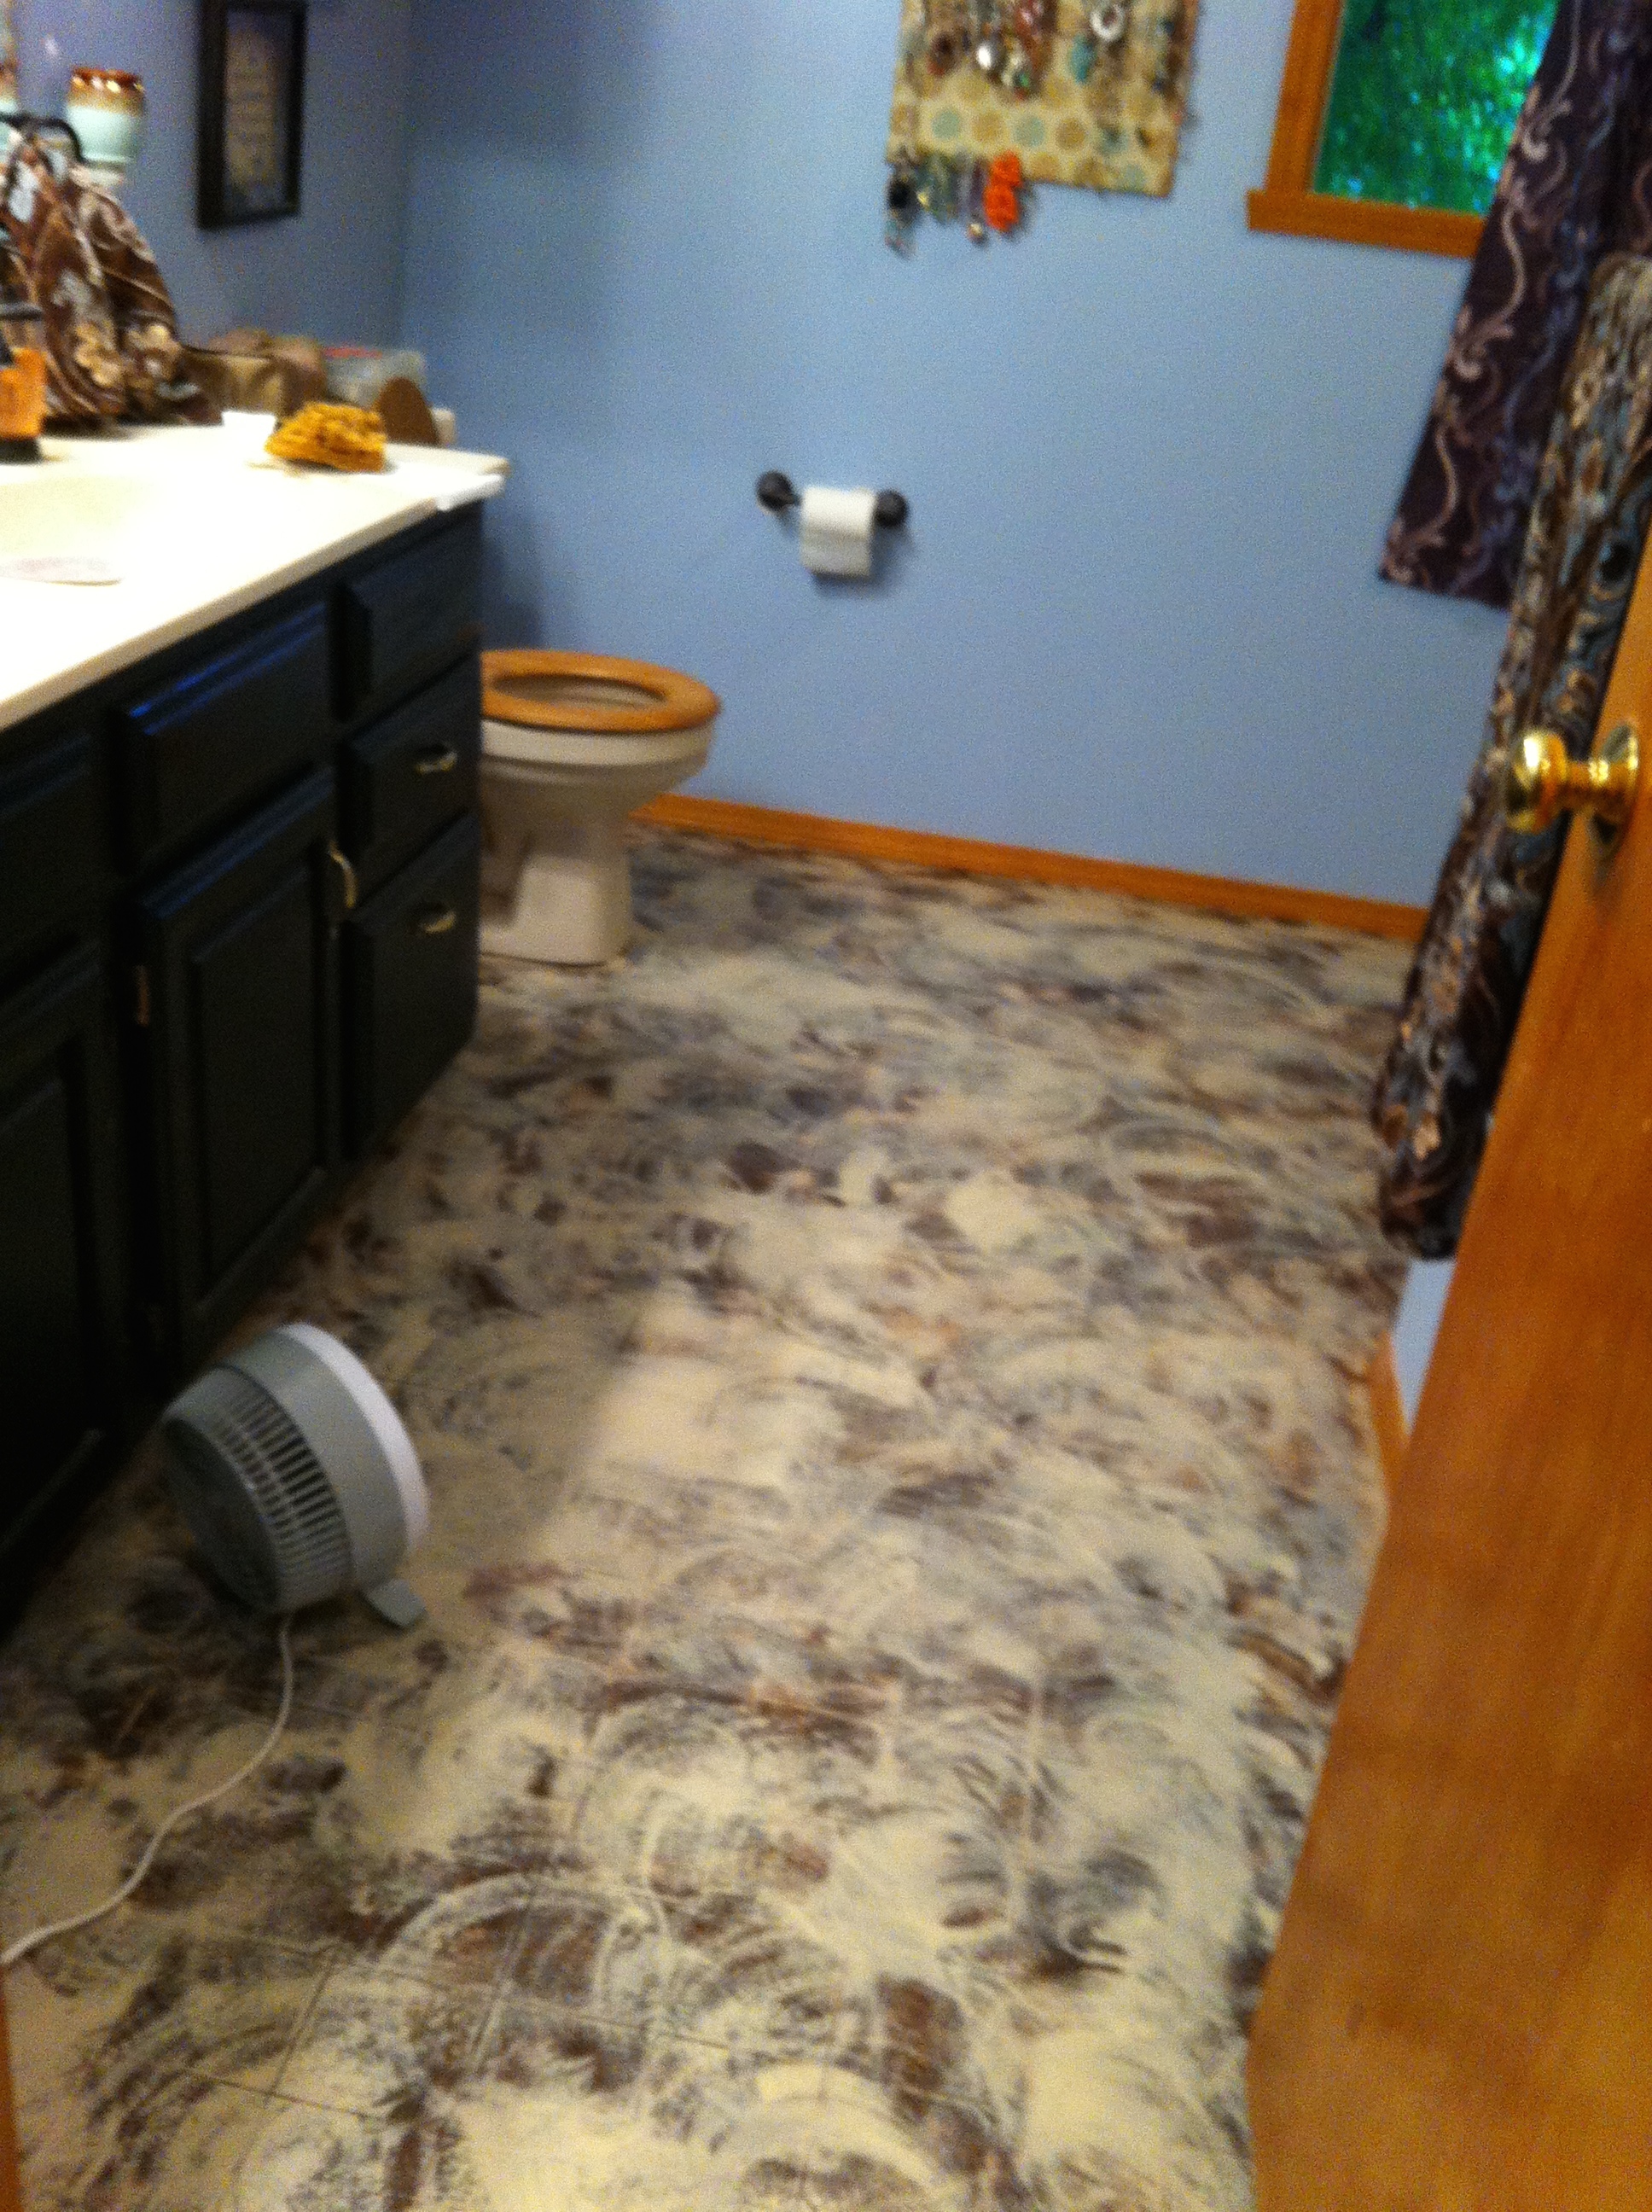
Here is the outdated vinyl floor in our Main Bathroom…

First step…
Clean the vinyl “REALLY GOOD”!
Second Step…
Sand vinyl’s glossy finish off. I wish I would have sanded better, so take it from me sand… sand… and sand some more!
Third Step…
Take your base color and paint entire floor with two to three coats of floor paint. I used Lowe’s Valspar floor/paint. Let dry completely.

Fourth step…
Take second color and begin a design. I tried for a swirly… all natural look… messy look.
Fifth step…
Back to the base color and continue painting the design of your choice.
Sixth Step… Continue going back and forth between colors until your floor looks… Just the way you want it to look. By the way… As you proceed between coats of design… You should begin to use less paint each time.
Seventh Step… I used two water sealant over top and allowed it to dry. Two coats. (I’m not sure this step was necessary and on the second bathroom I’m considering omitting this step.)
The floor to my sadness continued to scratch. So…. I got my thinker going and sent my hubby to Lowe’s to get some good old Polyurethane.
Seventh Step… Two coats of good quality polyurethane.
Wala!!! The finished product…

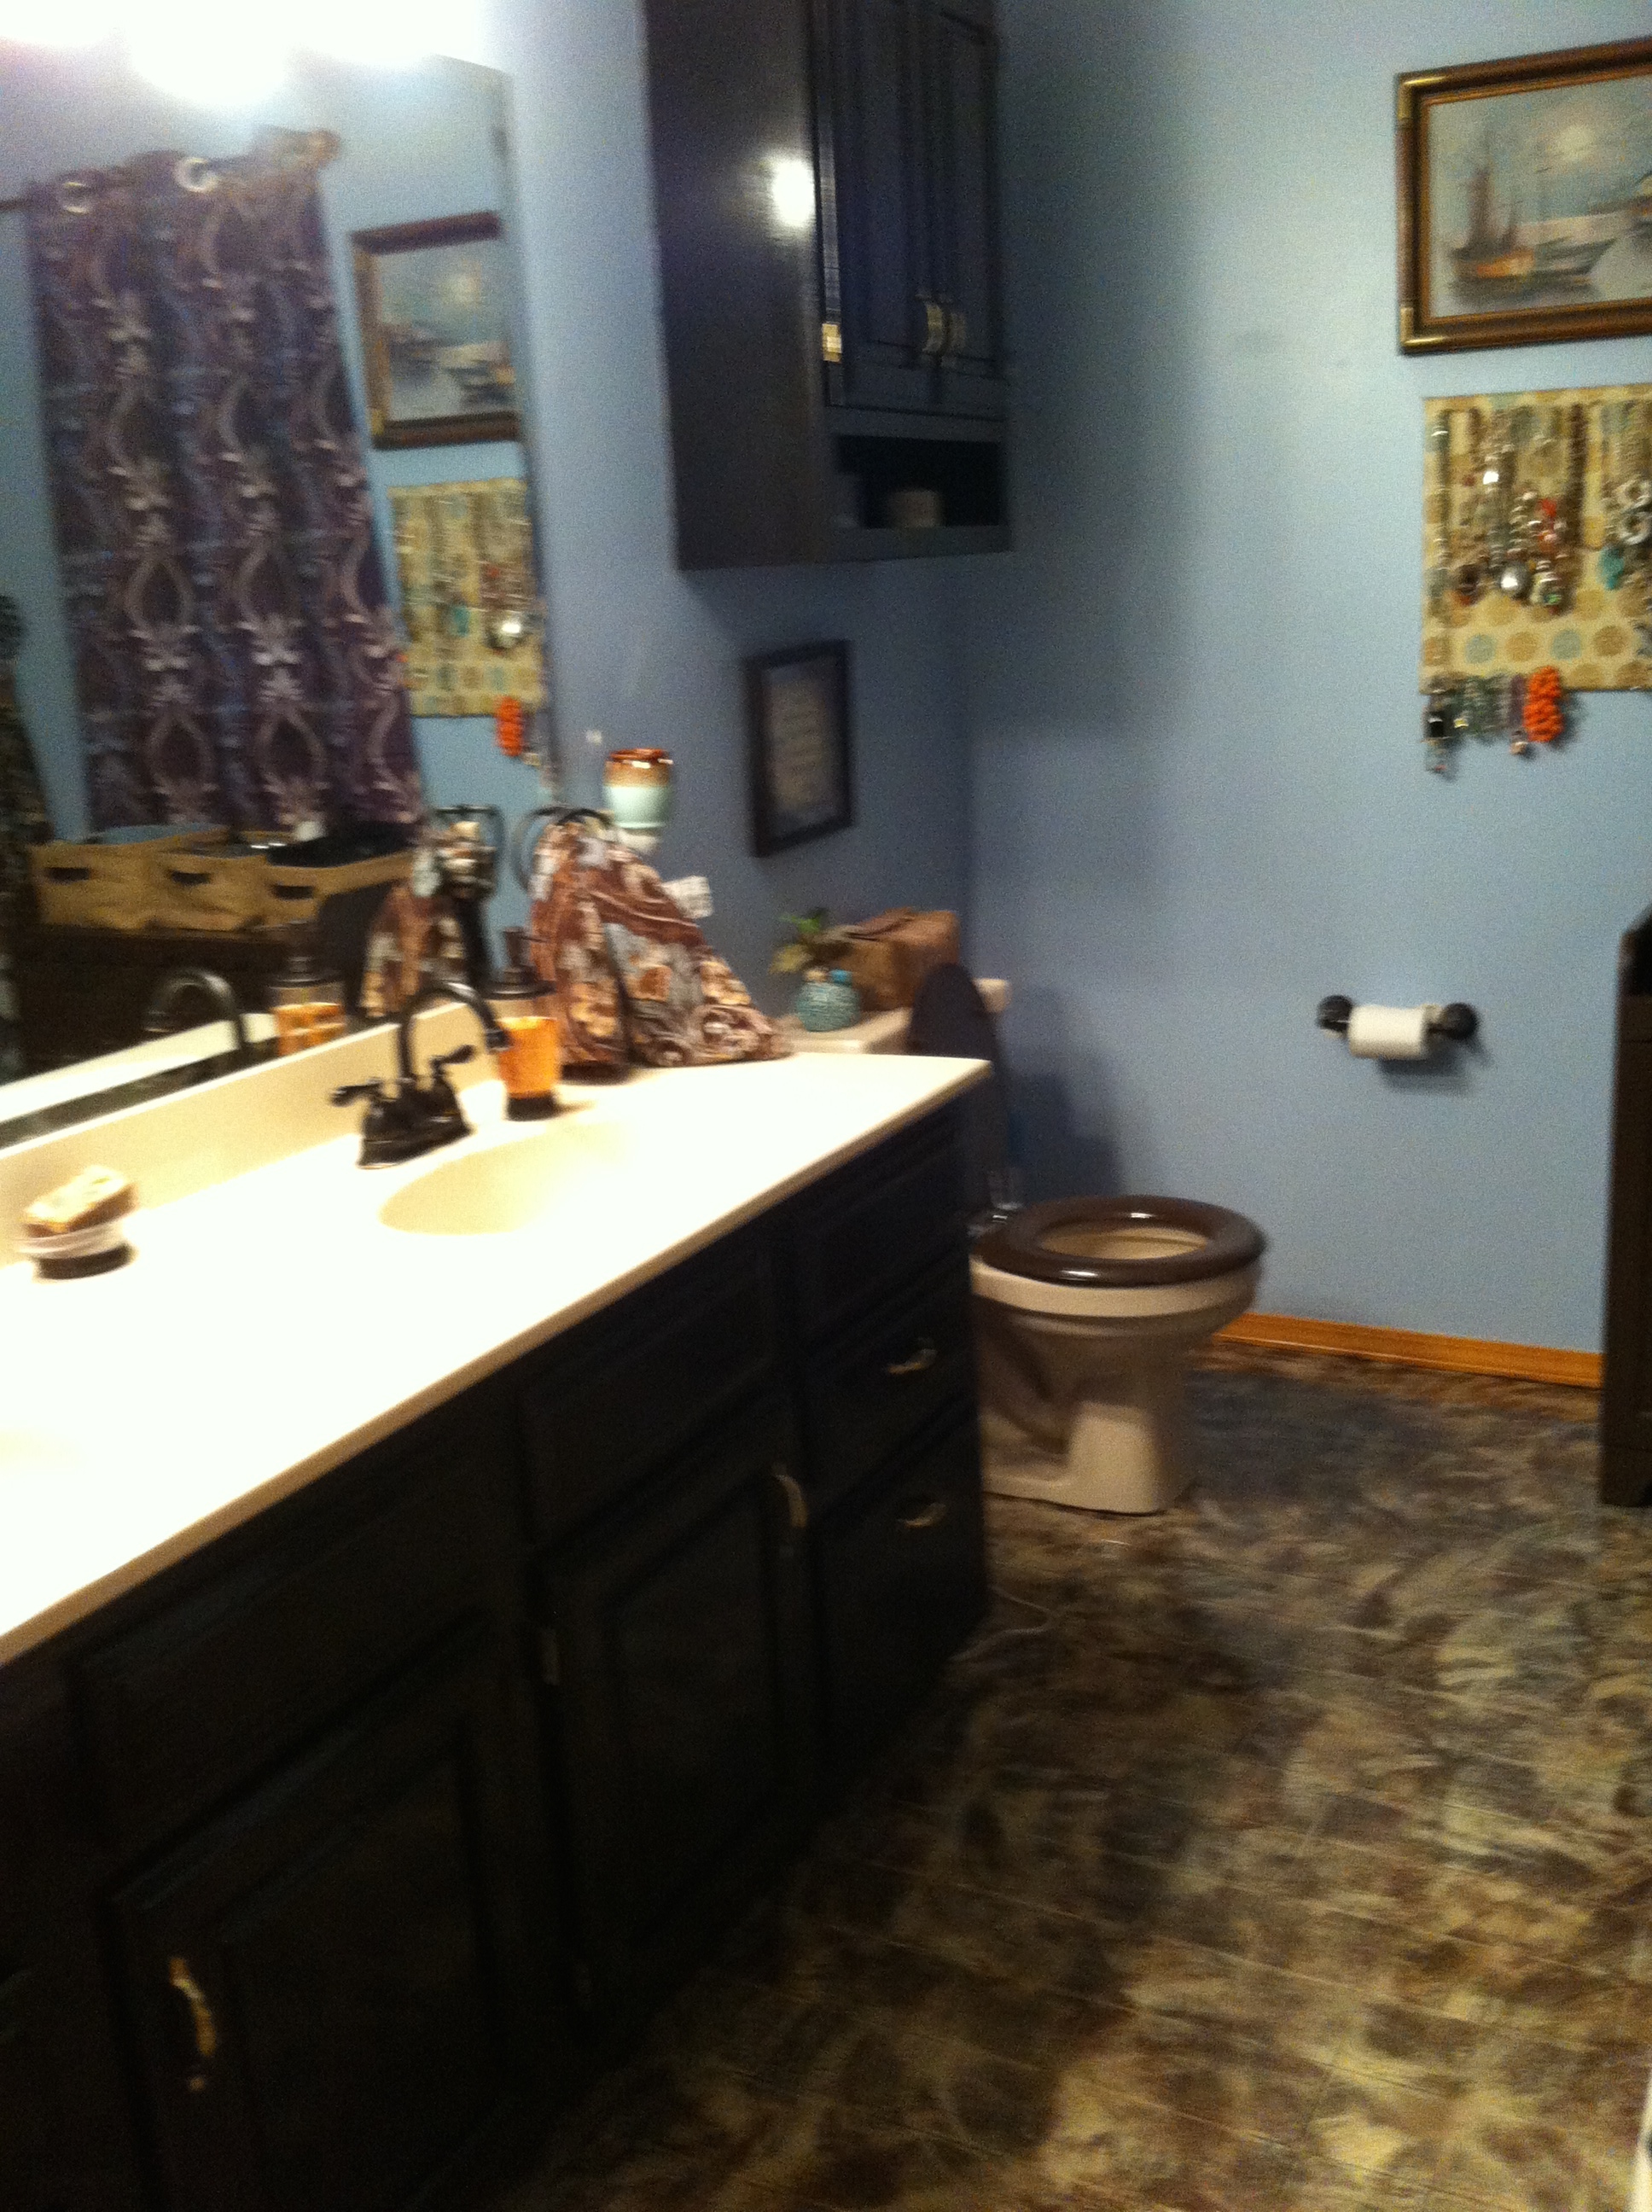

By the way… The design you paint on the floor is… Your Choice!!! You could paint stripes, circles, whatever your heart desires…. Make it yours!
I can’t vouch for the long term durability yet… But so far it seems to be working… And it is so much cheaper than tiling, putting in new vinyl, etc… The grand total and I have paint and polyurethane left over to do the 2nd bathroom… About $60 – $70. For the second bathroom all I needed was another court of floor paint for $11.98. So… Lot’s of work… And less than $100 dollars we have two new floors.
Best part… Not having to be annoyed with the outdated and ugly vinyl every time I go into the bathroom.
I hope you enjoyed this new kind of “blog post” of mine! I’ll post pictures of the 2nd bathroom when I get around to completing it and my muscles stop hurting from this project!
Blessings, Crystal Ridlon

Leave a comment